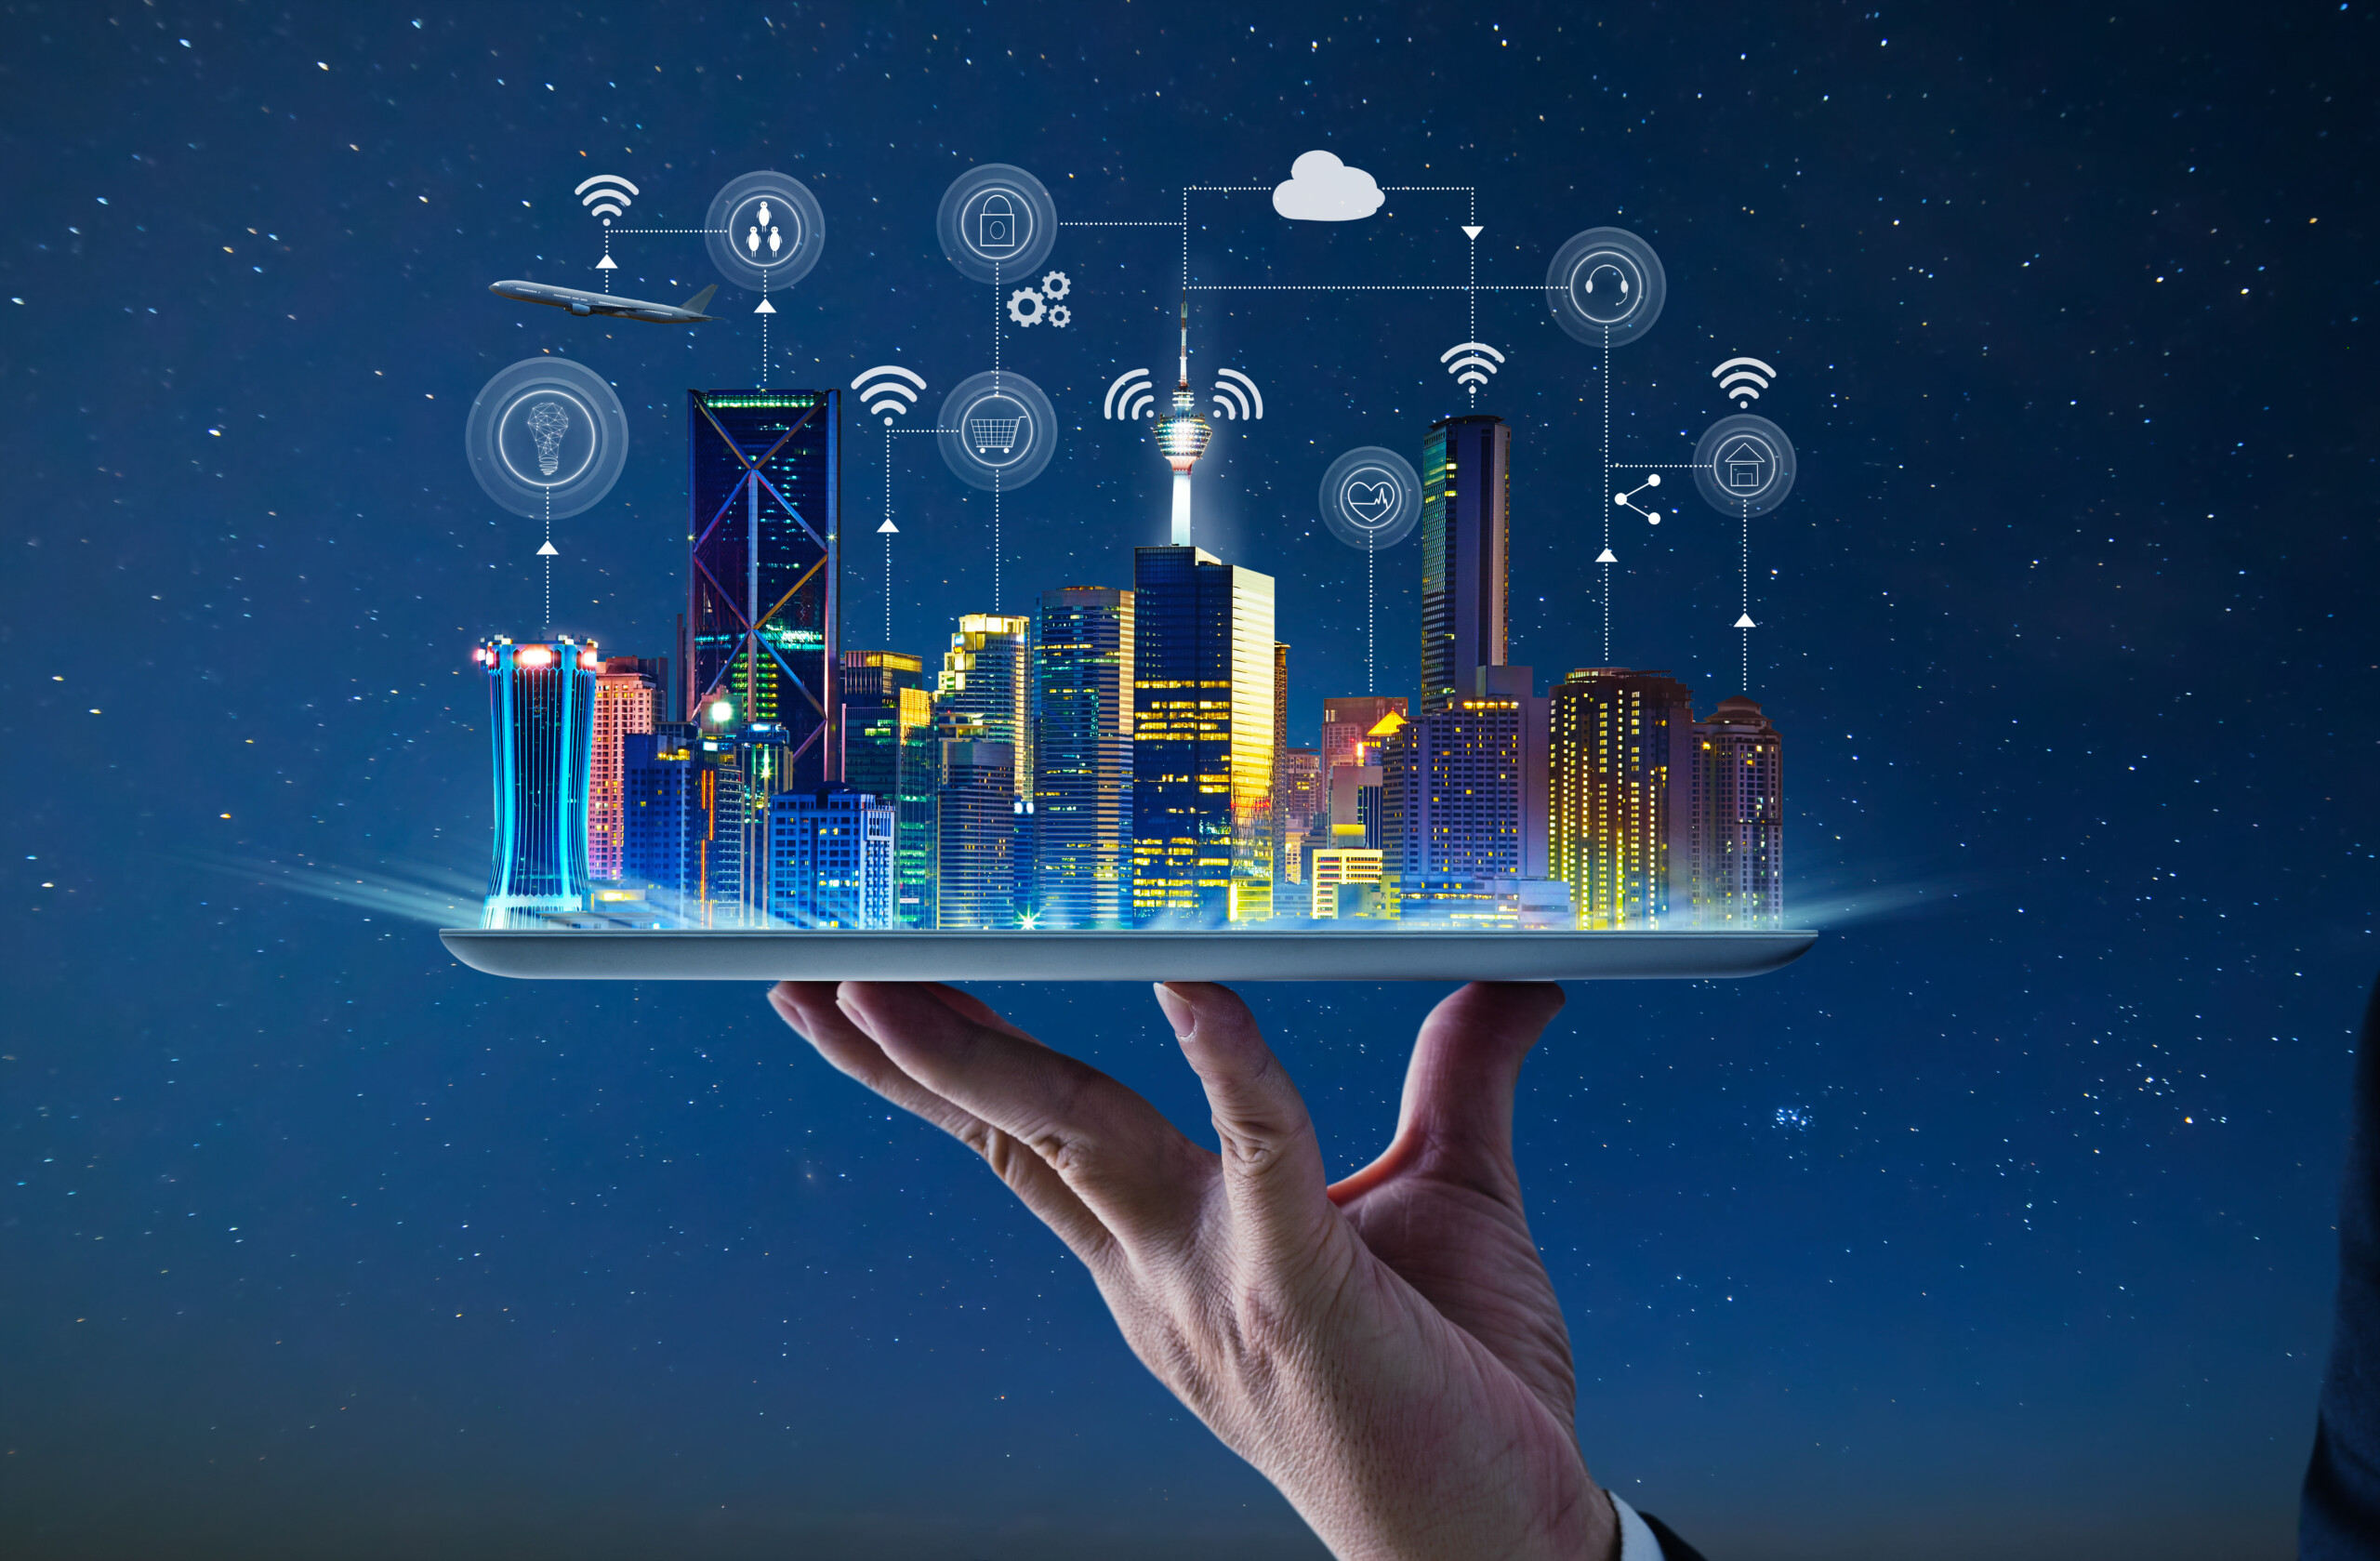
Wearable Device Development: Track Fitness, Health, and Environmental Data with Arduino or Raspberry Pi
Wearable technology has rapidly evolved from simple step counters to sophisticated devices capable of monitoring heart rate, blood oxygen, sleep patterns, and even environmental conditions. The combination of microcontrollers, sensors, and wireless communication allows developers to create custom wearable devices tailored to personal or professional needs.
Whether you’re a hobbyist, student, or developer, building a Wearable Device Development using Arduino or Raspberry Pi is a practical project to learn electronics, IoT, and real-time data monitoring.
In this blog, we will explore how to develop Wearable Device Development, including hardware components, software implementation, sensors, and practical applications for fitness, health, and environmental monitoring.
What is a Wearable Device?
A wearable device is an electronic device that can be worn on the body. These devices collect, process, and sometimes transmit data about the wearer or their surroundings.
Types of Wearable Devices
- Fitness trackers (steps, calories burned, heart rate)
- Health monitors (ECG, blood pressure, glucose levels)
- Environmental monitors (temperature, humidity, air quality)
- Smartwatches and smart bands
- Specialized medical devices
Wearable devices often use microcontrollers, sensors, and wireless connectivity to provide real-time data.
Why Build Your Own Wearable Device?
Building a DIY wearable device provides hands-on experience in electronics, programming, and data collection.
Benefits
- Personalized monitoring tailored to your needs
- Learning electronics, sensors, and IoT integration
- Experimentation with machine learning or AI for data analysis
- Cost-effective compared to commercial devices
- Opportunity to create prototypes for research or startups
DIY wearable development bridges the gap between hardware and software engineering.
Choosing Between Arduino and Raspberry Pi
The choice between Arduino and Raspberry Pi depends on project complexity, data processing needs, and connectivity requirements.
Arduino
- Microcontroller-based
- Low power consumption
- Ideal for real-time sensor tracking
- Easy to program using Arduino IDE
- Perfect for simple fitness trackers or health monitors
Raspberry Pi
- Single-board computer
- More processing power
- Can run Python, Linux, and IoT applications
- Ideal for data-heavy processing, environmental monitoring, or AI-enabled wearables
- Supports Wi-Fi, Bluetooth, and storage options
For simple wearable devices, Arduino is sufficient. For advanced analytics, cloud integration, or multi-sensor processing, Raspberry Pi is better.
Core Components of a Wearable Device
Building a wearable device requires both hardware and software components.
1. Microcontroller / SBC
- Arduino Uno, Nano, or Pro Mini
- Raspberry Pi Zero or 4
2. Sensors
Depending on the use case:
- Fitness/Health: Heart rate sensors (Pulse Sensor, MAX30100), accelerometers (ADXL345), gyroscope (MPU6050), temperature sensors (LM35)
- Environmental: Temperature and humidity sensors (DHT11, DHT22), air quality sensors (MQ135), UV sensors
3. Power Supply
- Rechargeable Li-ion battery
- Power management modules for wearable devices
4. Display (Optional)
- OLED or LCD display to show real-time data
- LEDs for status indicators
5. Connectivity
- Bluetooth or BLE (Bluetooth Low Energy) for mobile integration
- Wi-Fi for cloud connectivity (Raspberry Pi)
6. Enclosure
- Lightweight and wearable case
- Flexible wristbands or clips
Steps to Build a Wearable Device
Building a wearable device involves hardware setup, programming, and testing.
Step 1: Define Your Goal
Decide the primary function:
- Fitness tracker (steps, heart rate)
- Health monitor (temperature, ECG)
- Environmental monitor (air quality, UV levels)
Step 2: Connect Sensors
- Connect sensors to Arduino pins or Raspberry Pi GPIO
- Use appropriate libraries to read sensor data
- Calibrate sensors for accuracy
Step 3: Program the Device
- Arduino IDE: C/C++ based programming
- Raspberry Pi: Python or Node.js scripts
- Sample Arduino code to read heart rate:
#include <PulseSensorPlayground.h>

const int PulseWire = A0;
PulseSensorPlayground pulseSensor;

void setup() {
  Serial.begin(9600);
  pulseSensor.analogInput(PulseWire);
  pulseSensor.begin();
}

void loop() {
  int heartRate = pulseSensor.getBeatsPerMinute();
  if (pulseSensor.sawStartOfBeat()) {
    Serial.println(heartRate);
  }
}
- Raspberry Pi can process multiple sensor inputs and send data to a mobile app or cloud server using MQTT or HTTP requests.
Step 4: Display or Transmit Data
- Small OLED/LCD screens can show metrics like steps or heart rate
- Bluetooth Low Energy can send data to mobile apps
- Raspberry Pi can integrate with web dashboards or cloud analytics platforms
Step 5: Power Management
- Ensure battery efficiency
- Sleep modes for Arduino
- Power-saving techniques for Raspberry Pi Zero
Step 6: Test and Iterate
- Test for sensor accuracy
- Monitor battery life
- Ensure comfort and wearability
- Iterate based on feedback
Applications of Wearable Devices
Wearable devices have a wide range of applications:
1. Fitness and Sports
- Steps, distance, and calories
- Heart rate and sleep monitoring
- Activity tracking for athletes
2. Health Monitoring
- Continuous heart rate or ECG
- Body temperature and oxygen saturation
- Chronic disease monitoring
3. Environmental Monitoring
- Air quality monitoring
- UV exposure tracking
- Temperature and humidity alerts
4. Research and Prototyping
- Data collection for health studies
- Environmental experiments
- IoT and machine learning prototypes
Best Practices for Wearable Device Development
- Prioritize lightweight and comfortable design
- Optimize battery consumption
- Use calibrated sensors for accuracy
- Ensure data privacy for health metrics
- Implement real-time alerts and notifications
- Test in real-world conditions
Following these best practices ensures usability and reliability.
Challenges in Wearable Device Development
While wearable technology is exciting, developers face challenges:
- Limited battery life
- Small form factor constraints
- Sensor calibration and reliability
- Real-time data processing limitations
- Connectivity and security issues
Addressing these challenges requires careful design and testing.
Future of Wearable Devices
The wearable technology landscape is expanding rapidly. Emerging trends include:
- AI-enabled health diagnostics
- Smart clothing with embedded sensors
- IoT integration with cloud analytics
- Continuous health and environmental monitoring
- Personalized fitness and wellness recommendations
Wearable devices will continue to bridge healthcare, fitness, and environmental awareness in real-time.
Conclusion
Building a wearable device using Arduino or Raspberry Pi is a rewarding project that combines hardware, software, and IoT technology. Whether your goal is to monitor fitness metrics, track health parameters, or measure environmental conditions, DIY wearable development offers practical skills and innovative solutions.
With the right sensors, programming, and design considerations, developers can create reliable, efficient, and personalized wearable devices that provide real-time insights for users. The future of wearable technology is promising, with opportunities for AI, cloud integration, and advanced analytics shaping the next generation of smart devices.
Related Posts

Medicare, Medicaid, and Beyond: Your Guide to Public Health Insurance in the USA
Cryptography: Developing Systems to Secure Data and Communications
Security Information and Event Management (SIEM): Monitor and Analyze Security Logs Effectively

BOE’s Struggle with iPhone OLED Production: Impact on Apple and the Display Industry

Penetration Testing: Identifying Website and Network Vulnerabilities
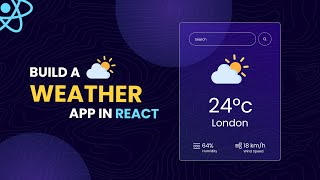
Weather App Development: Building a Real-Time Weather Application Using OpenWeatherMap API
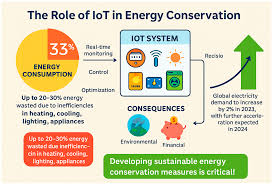
Smart Energy Management System: Optimize Energy Consumption Using IoT, Sensors, and Actuators

Predictive Modeling Using Machine Learning: A Complete Guide for Businesses

Predictive Modeling: Using Machine Learning to Predict Customer Churn, Sales, and Business Outcomes

Data Visualization Dashboard Development: Visualizing Insights Using Tableau, Power BI, and D3.js
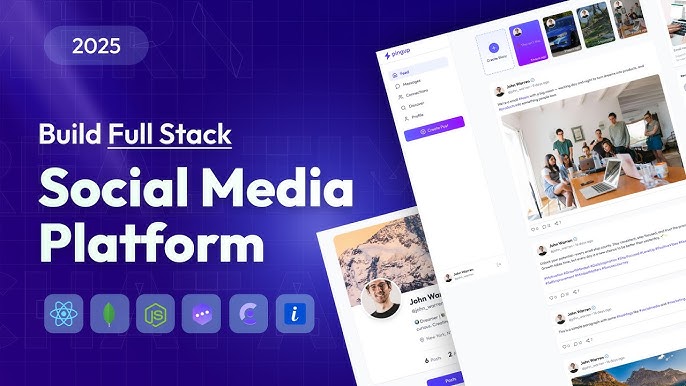
Social Media Platform Development Using React, Node.js, and MongoDB
Blog Website Development: Using WordPress CMS or Building a Custom Blog with HTML, CSS, and JavaScript

Predictive Maintenance: Building a Machine Learning Model to Predict Equipment Failures and Reduce Downtime
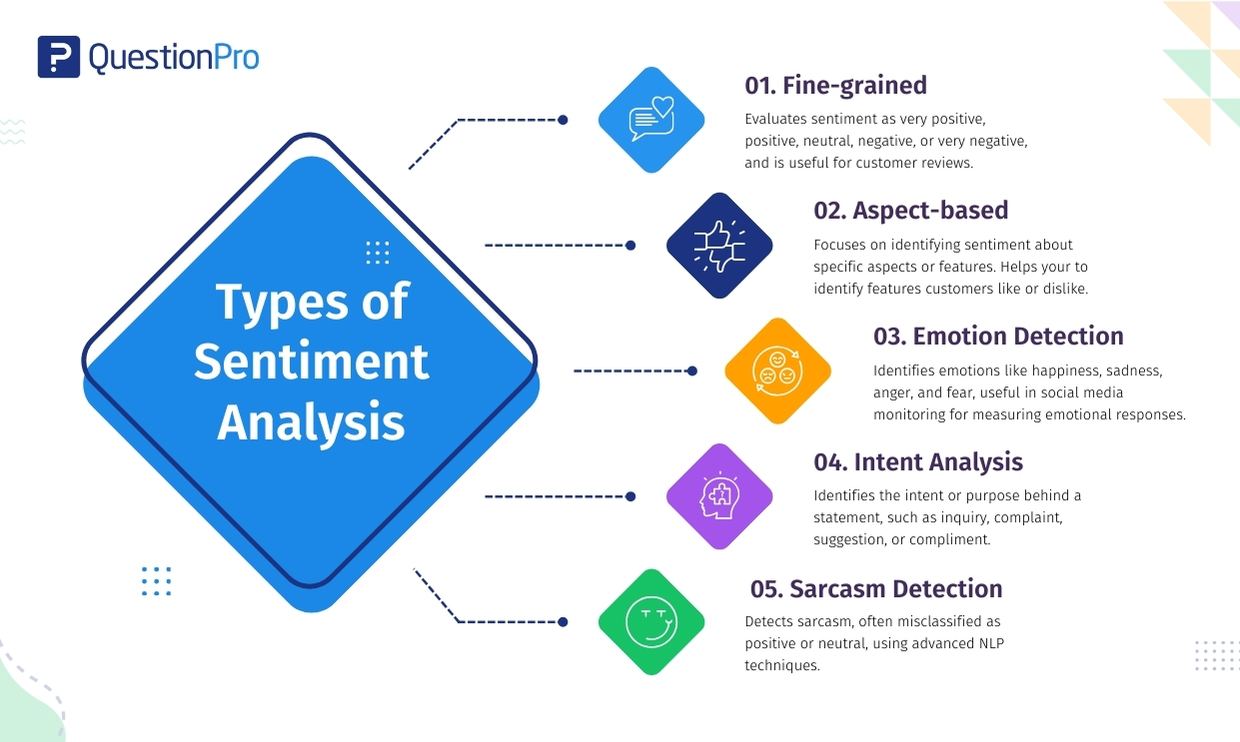
Sentiment Analysis: Building a Model to Analyze Text Data and Determine Sentiment

Image Classification: Develop a Deep Learning Model to Categorize Images

Chatbot Development: Build a Conversational AI Chatbot Using NLP and Machine Learning

Tech Industry Trends: Job market, skills in demand, and future prospects

Nanotechnology: Applications, Benefits, and Potential Risks
Change Management: Implementing Digital Transformation, Training, and Adoption
VR and AR Applications: Gaming, Education, and Enterprise Use Cases
IoT Development: Platforms, Tools, and Programming Languages

Cloud Security: Data Protection, Access Control, and Compliance

Cloud Migration: Strategies, Benefits, Challenges, and Best Practices

French Court Ruling on Apple’s Tracking: App Tracking Transparency Stands

Robotics Breakthrough: Handy Robot That Can Crawl and Pick Up Objects

Apple, Google Announce Multi-Year AI Collaboration Using Gemini: A New Era for AI Assistants


PTA Tax Reduction: What It Means for Mobile Users in Pakistan

Gul Plaza Fire: How a Deadly Inferno Exposed Karachi’s Safety Failures

Verizon Outage Update Critical Service Restored After 10-Hour


The Importance of Data Analytics in Business Decision-Making
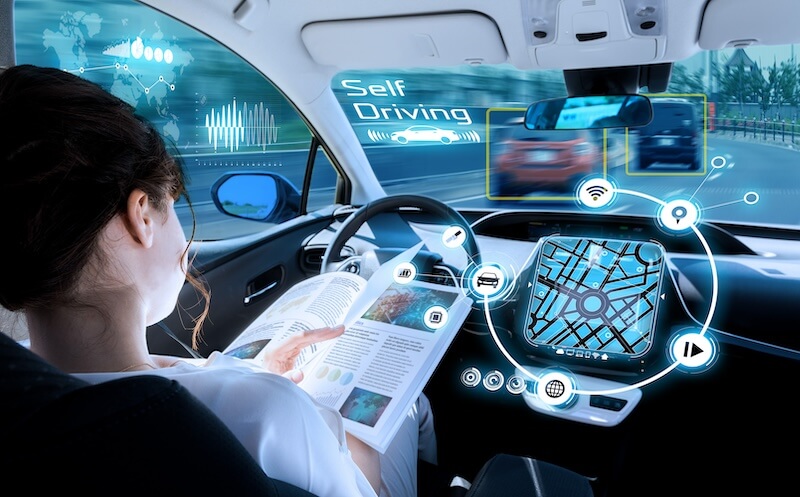
The Future of Autonomous Vehicles

75 Countries Visa Pause: What It Means for Global Travel and Immigration

School Closing in USA What Parents Should Know
School Closing in USA, What Parents Should Know


The Best Smartphones for Photography in 2026: Capture Every Moment in Stunning Detail


WordPress Not Loading: Reasons and How to Fix It

How to Fix Slow Loading Issues in Google Chrome

No-Code Business Ideas That Make Millions in 2026

How to Become a Tech Entrepreneur in 2026

How to Create a Successful YouTube Channel in 2026
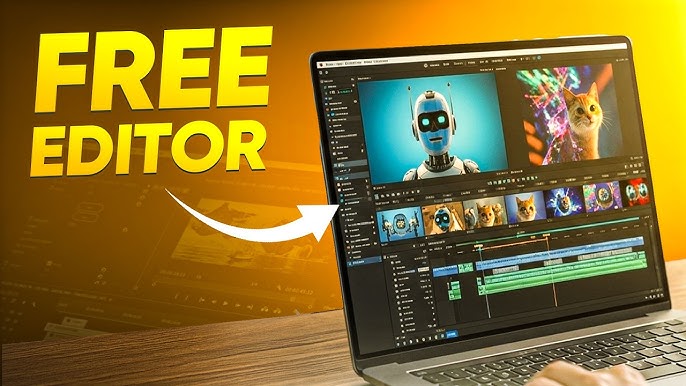
Best Free Video Editing Software for YouTubers in 2026

How to Make Money Online in Pakistan: Proven Ways to Earn in 2026

Top 5 Laptops for Gaming in 2026: Ultimate Picks for Every Gamer

10 Ways to Boost Your Laptop’s Battery Life

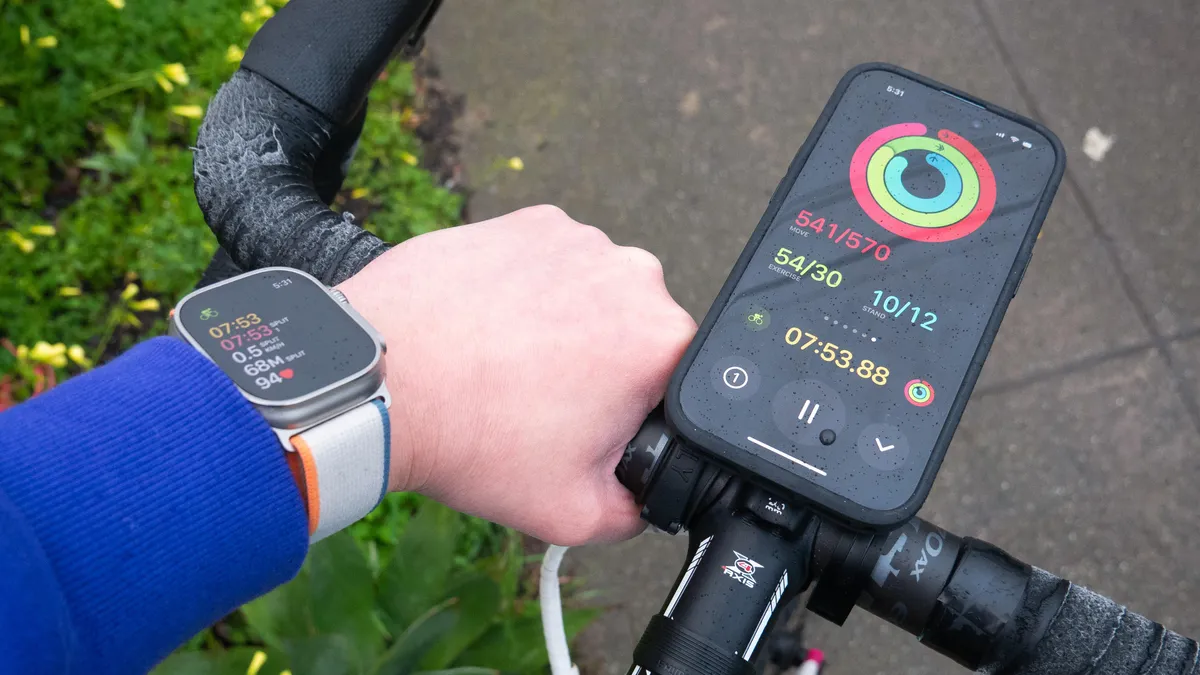
Review of the Latest Smartwatch Trends: What’s Hot in Wearable Tech
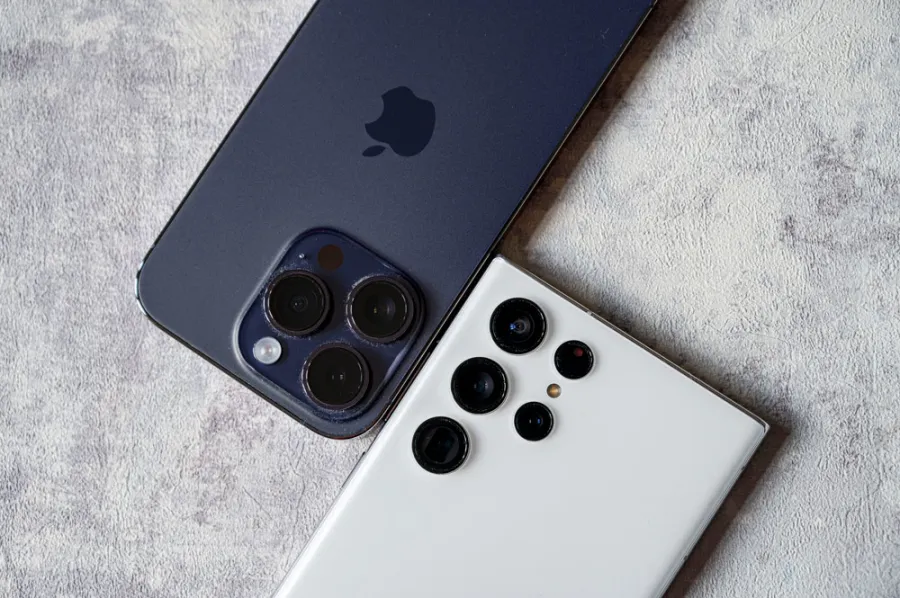
Samsung vs iPhone Cameras: Which Is Better for Photography in 2026?
How AI is Changing the Way We Live and Work: Transforming Everyday Life
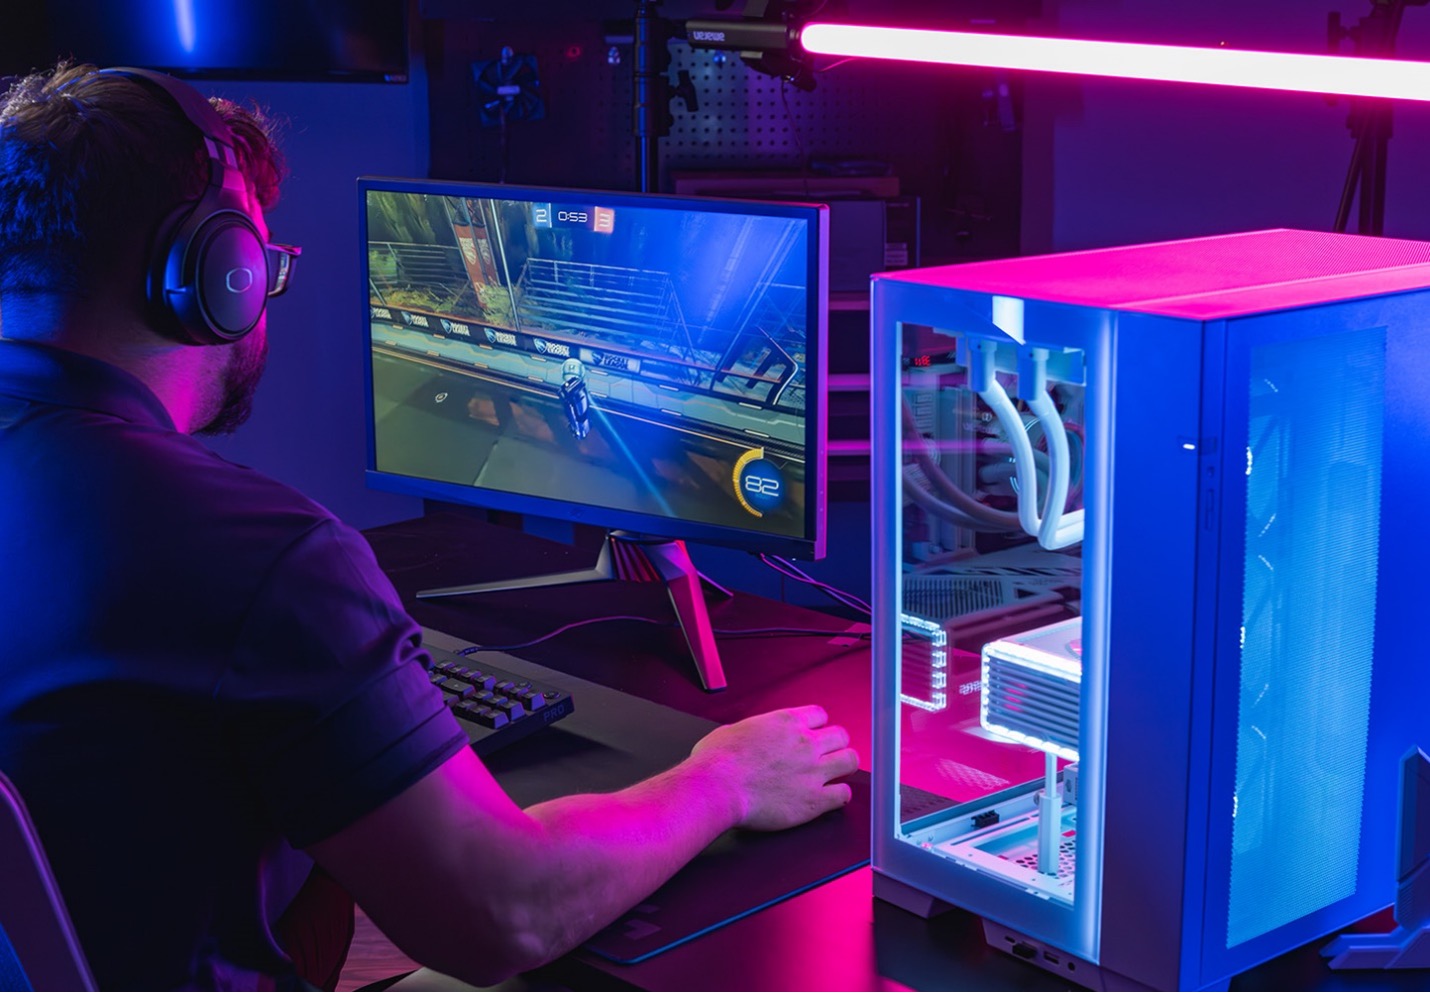
How to Build a Gaming PC: A Step-by-Step Beginner’s Guide
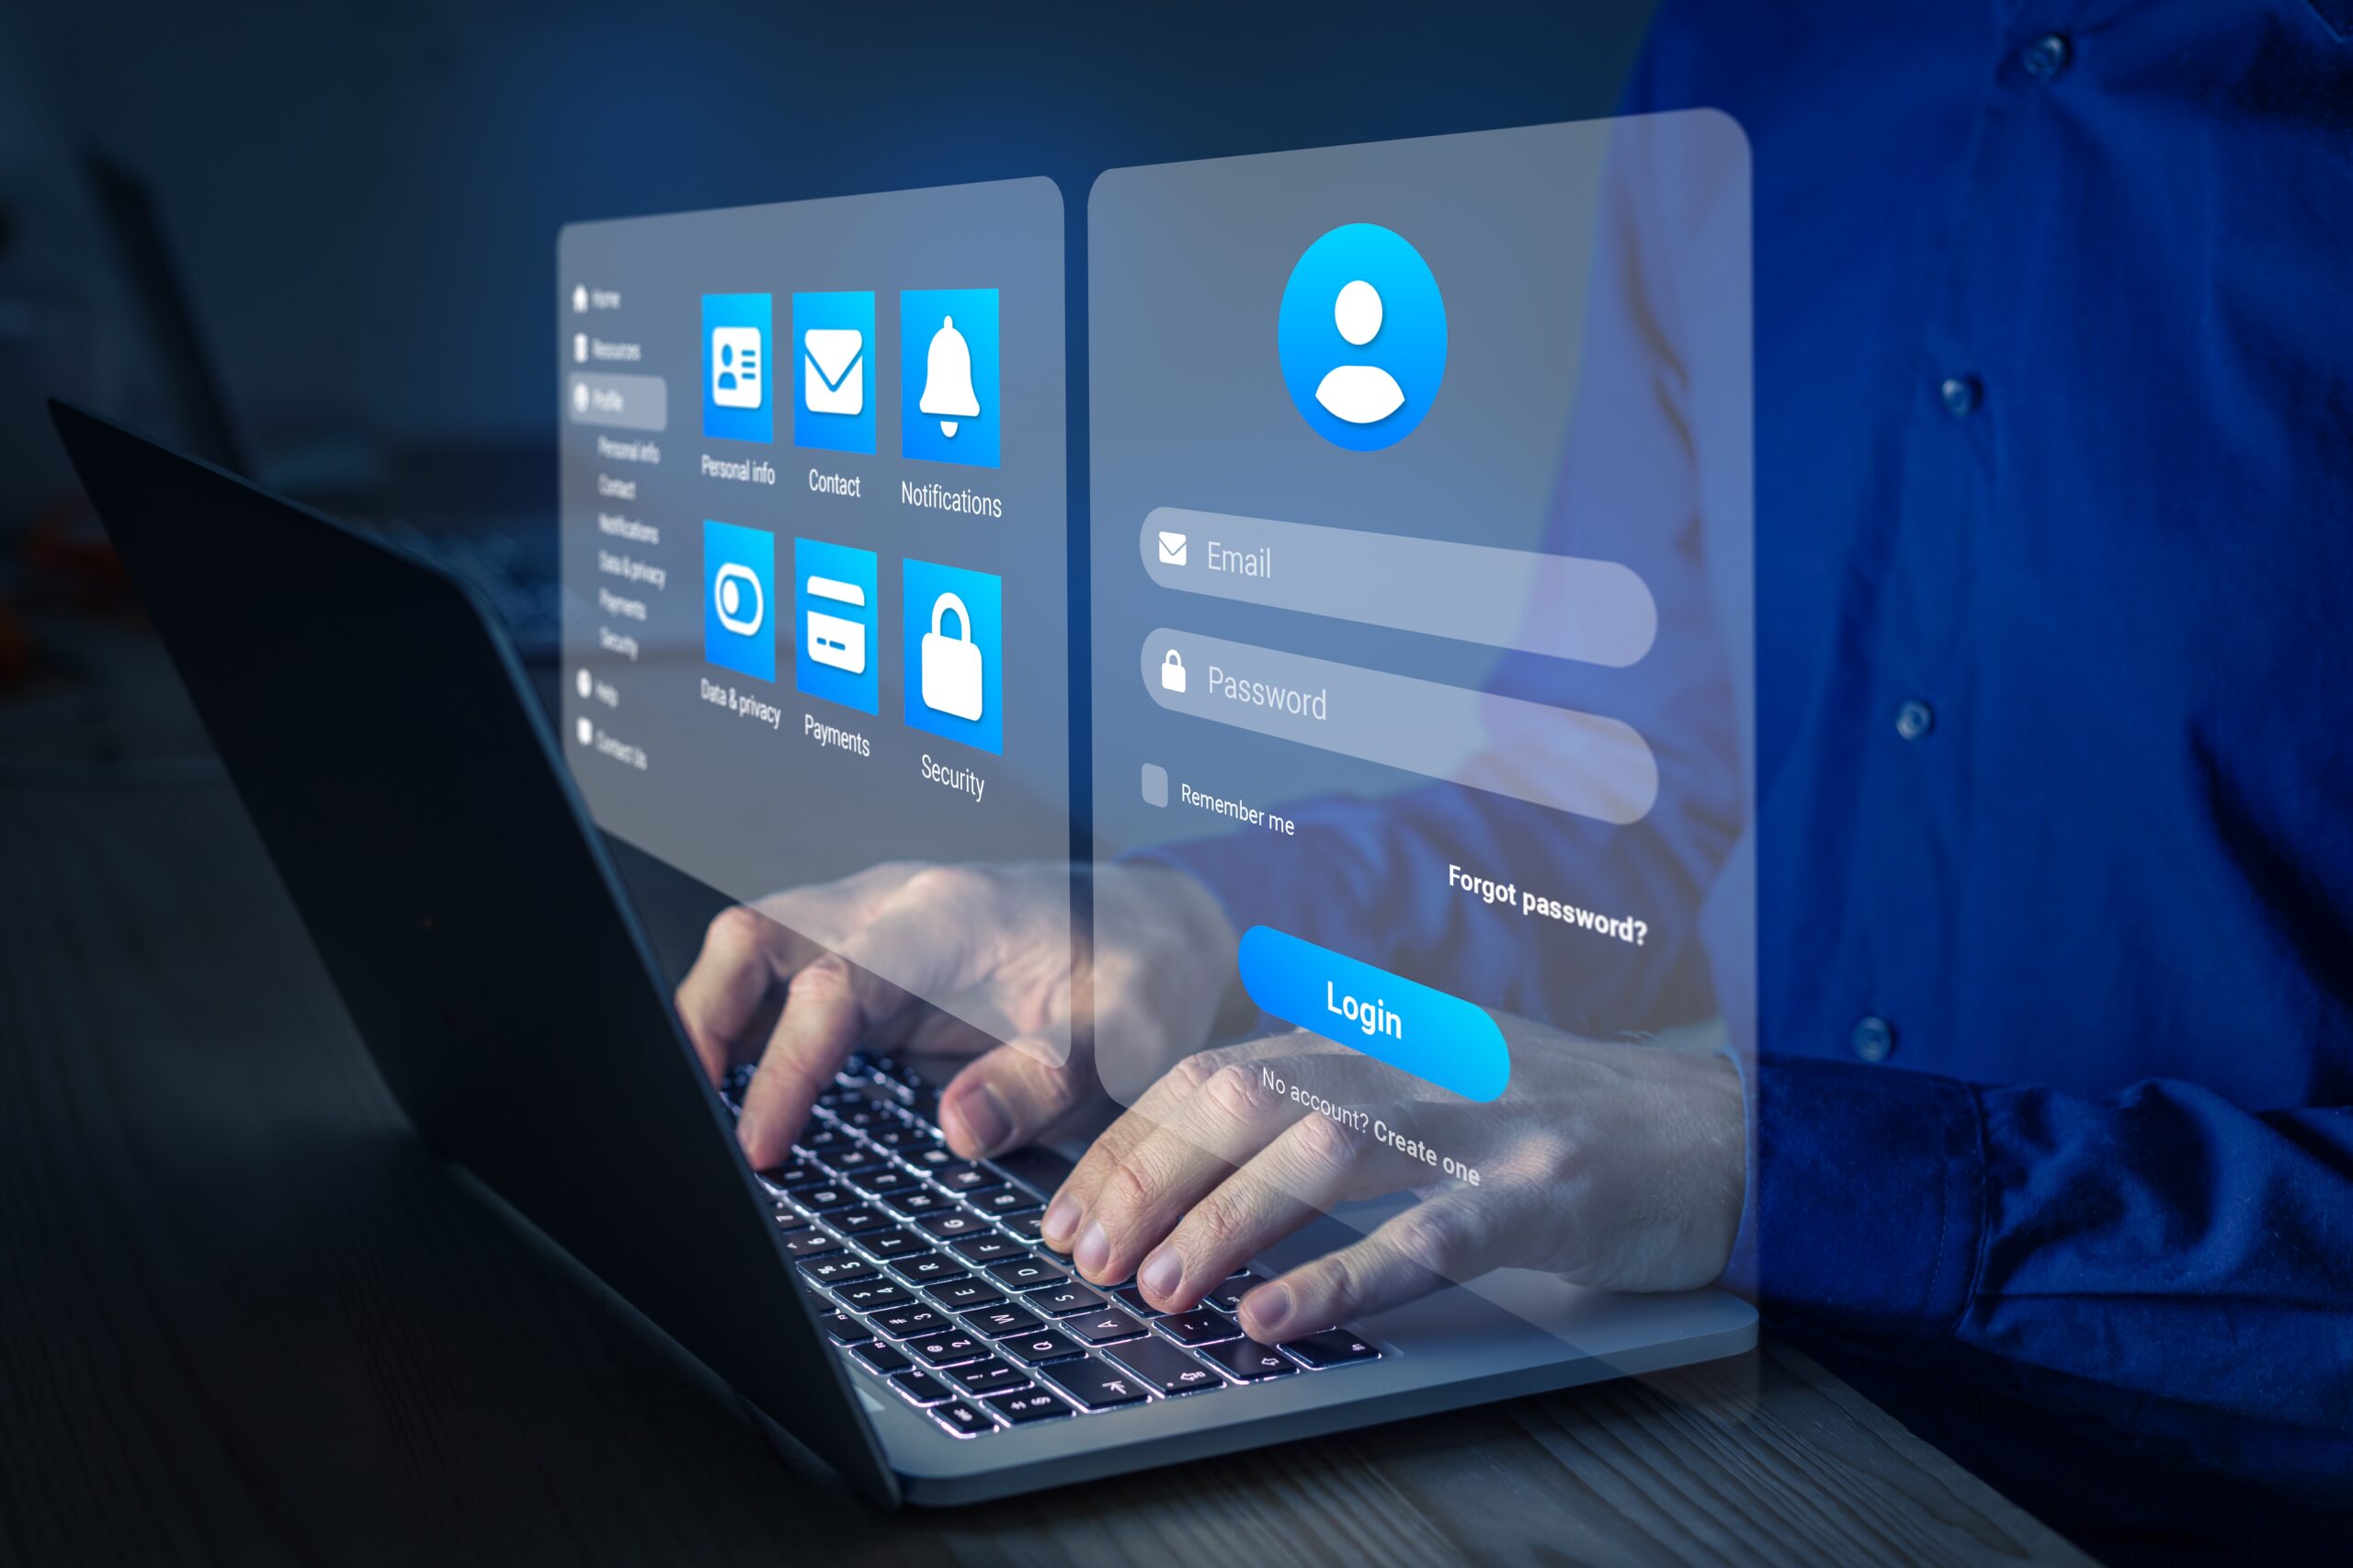
The Best Password Manager: Secure Your Digital Life in 2026
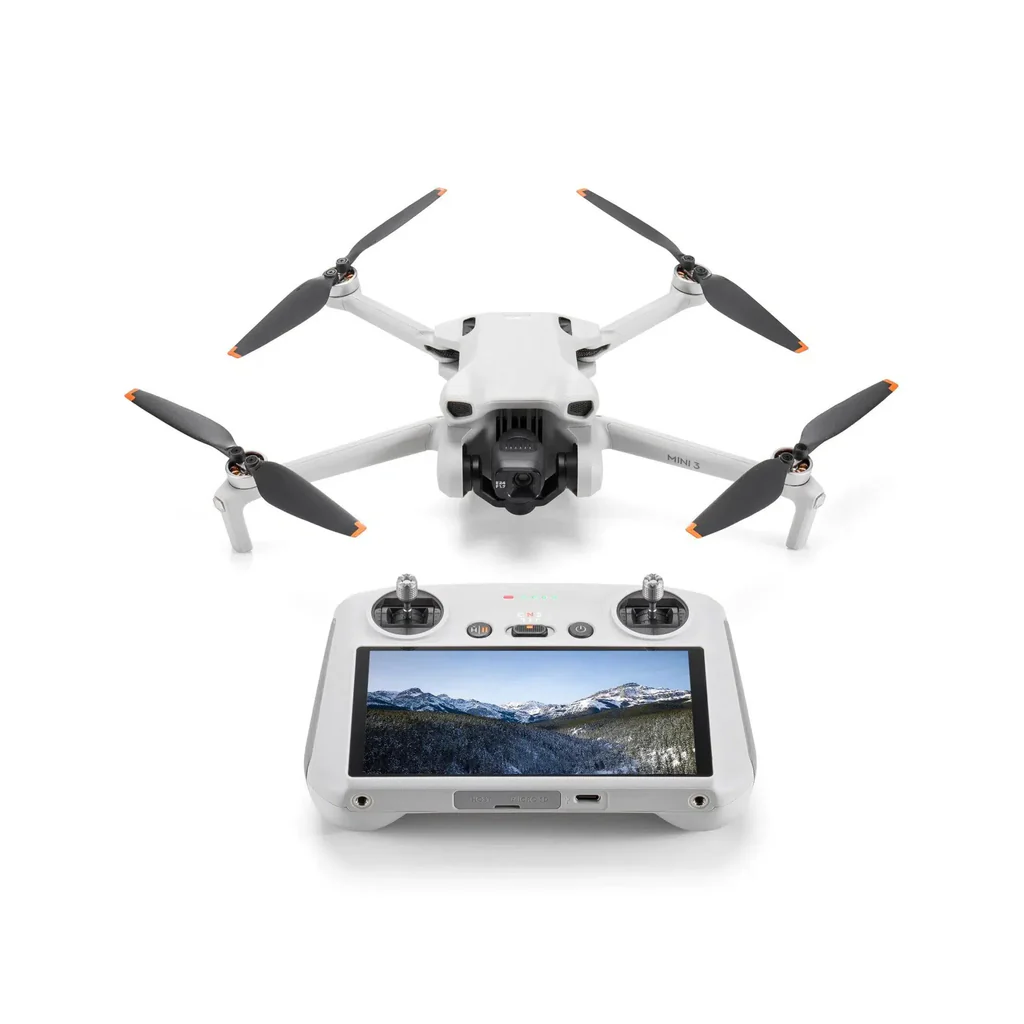
The Future of Drones in Pakistan: Transforming Industries and Innovation

How to Speed Up Your Laptop: Simple Tips That Actually Work

The Ethics of Facial Recognition Tech: Balancing Innovation and Privacy

The Role of Tech in Disaster Management: Saving Lives Through Innovation
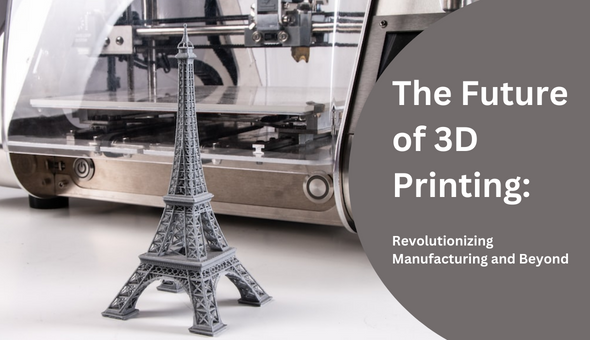
The Future of 3D Printing: Transforming Manufacturing and Beyond

The Best Free Antivirus Software: Protect Your Devices Without Paying
How to Protect Your Phone from Hackers: Essential Security Tips

The Top Tech Conferences in Asia: Where Innovation Meets Opportunity

The Pros and Cons of Online Shopping: A Complete Guide for Modern Consumers

The Future of Virtual Assistants: Smarter, More Human, and Everywhere

Top Tech Myths Debunked: Separating Fact from Fiction
How AI is Changing Customer Service: Enhancing Support and Experience

Pakistan Top Tech Influencers to Follow: Insights, Reviews & Innovation
Best Remote Development Collaboration Tools Software 2026
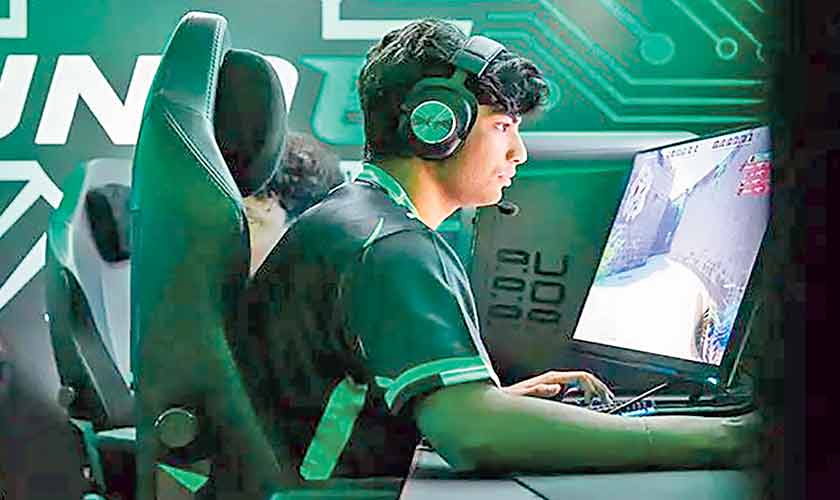
The Rise of E-Sports in Pakistan: Gaming as a Professional Career

The Impact of Technology on Pakistan Education System : Transforming Learning and Teaching

The Top Tech Companies to Work for in Pakistan: Careers, Culture, and Opportunities

How to Protect Your Data Online: Tips for Cybersecurity and Privacy

The Role of Women in Pakistan Tech Industry: Breaking Barriers and Driving Innovation

The Dark Side of Social Media: Addiction & More
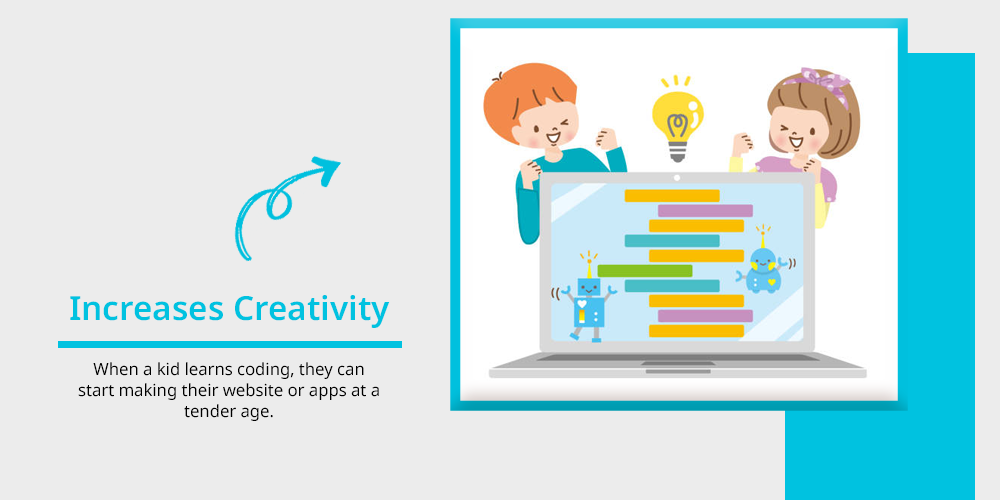
Coding for Kids: Is it Worth the Hype?
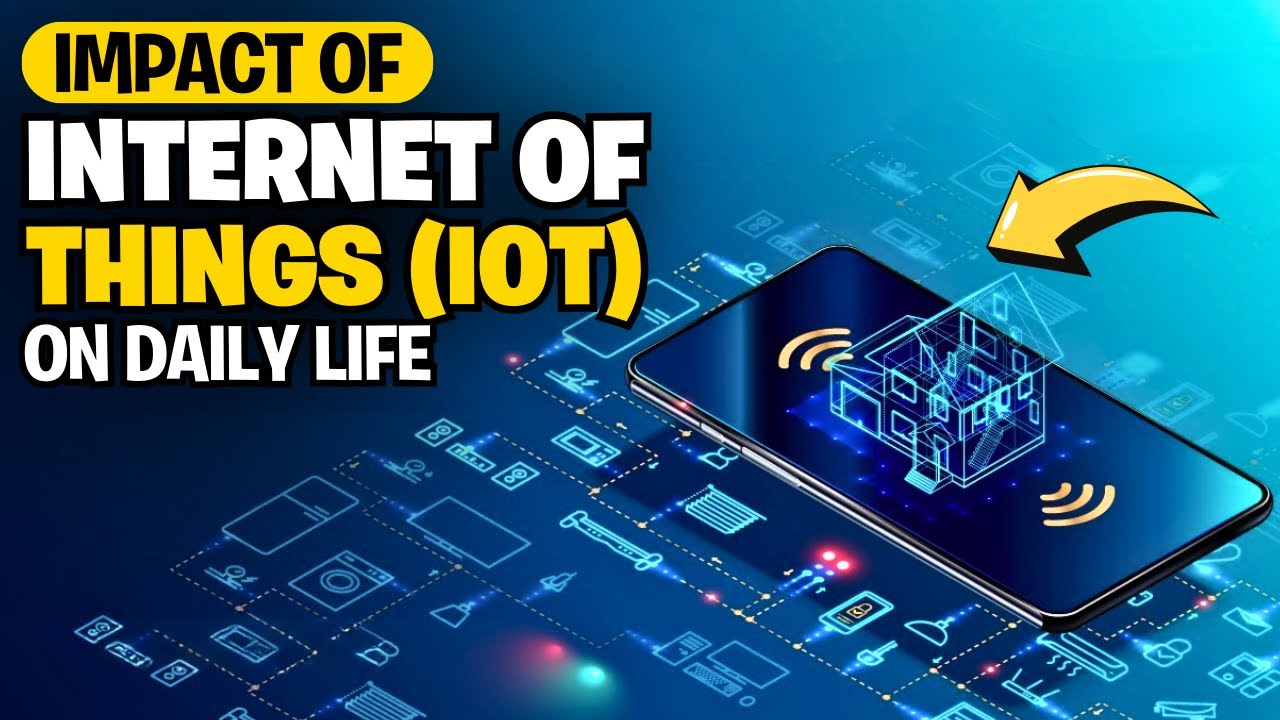
The Impact of IoT on Daily Life: Transforming How We Live, Work, and Interact

Top Tech Conferences in Pakistan: Networking, Innovation, and Growth Opportunities

The Future of Electric Vehicles in Pakistan: Opportunities, Challenges, and Growth

The Best Productivity Apps for Students: Maximize Learning and Time Management

Pakistan’s Digital Payment Revolution: Transforming Commerce and Financial Inclusion

The Impact of Technology on Pakistan’s Economy
Top Programming Languages to Learn

The Rise of E-Learning Platforms: Revolutionizing Education

Human-AI Collaboration Tools: AI as a True Teammate Enhancing Productivity and Creativity
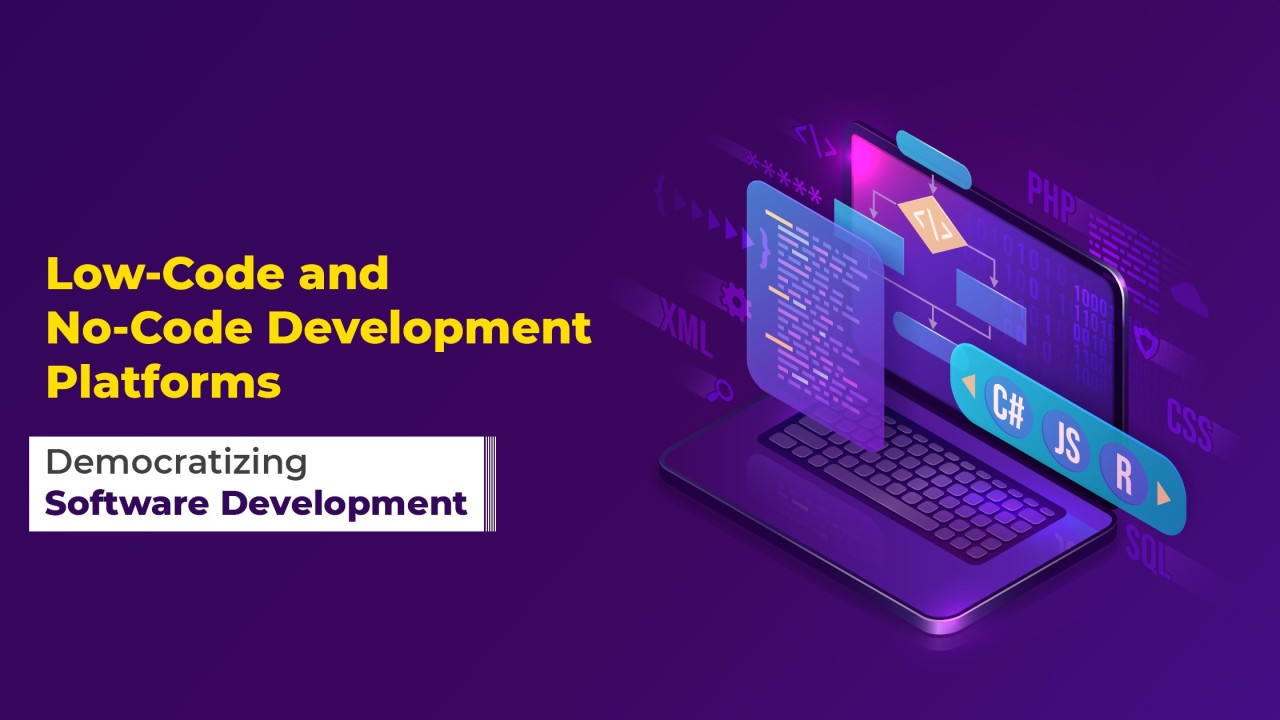
Low-Code, No-Code, and AI-Assisted Dev: Democratizing Software Development with AI-Powered Tools

Generative AI 2.0: Multimodal AI systems that combine text, visuals, code, and data, unlocking new enterprise applications

AI Governance and Regulation: Ensuring AI Transparency, Fairness, and Accountability
Humanoid Robots: AGIBOT’s Production-Ready Robots Are Changing Industries
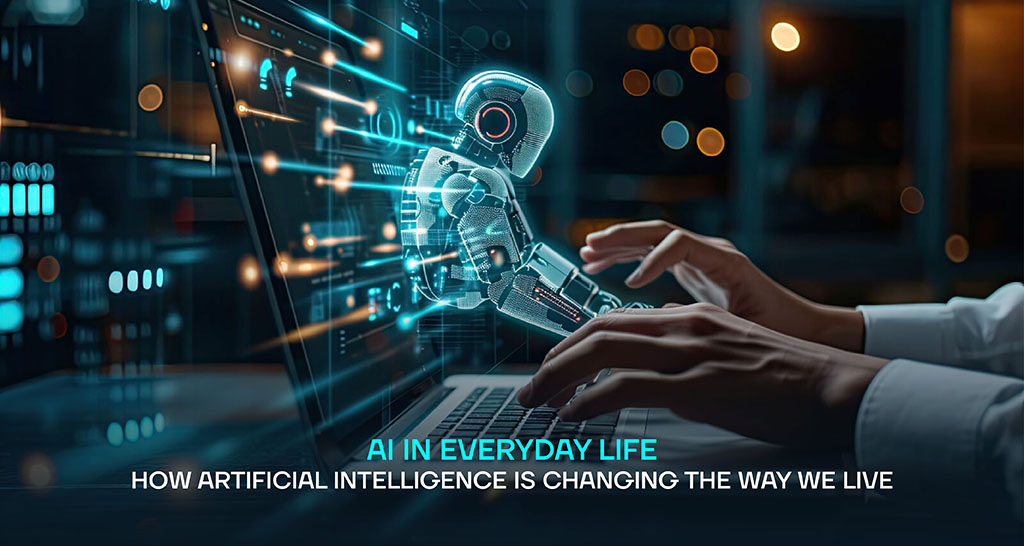
AI in Everyday Life: How AI Is Transforming Daily Tasks and Experiences

AI in Healthcare: How Machine Learning Is Revolutionizing Patient Care
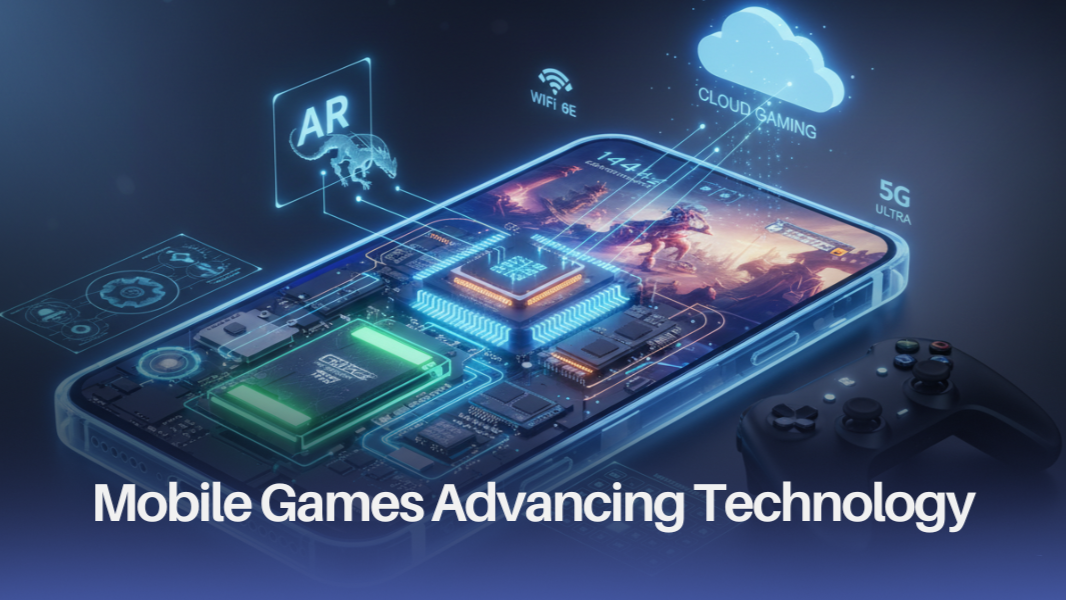
Gaming on the Go: The Evolution of Mobile Gaming

The Ethics of Technology: Balancing innovation with responsibility

Virtual Reality: Transforming the Way We Experience the Digital World

Demystifying Quantum Computing: What You Need to Know
The Role of Internet of Things in smart cities (IoT) in Shaping the Future of Cities
The Top Emerging Tech Trends in Pakistan
The Benefits and Drawbacks of Virtual Reality in Education

How Blockchain is Revolutionizing Industries Beyond Crypto currency
The Pros and Cons of Facial Recognition Technology

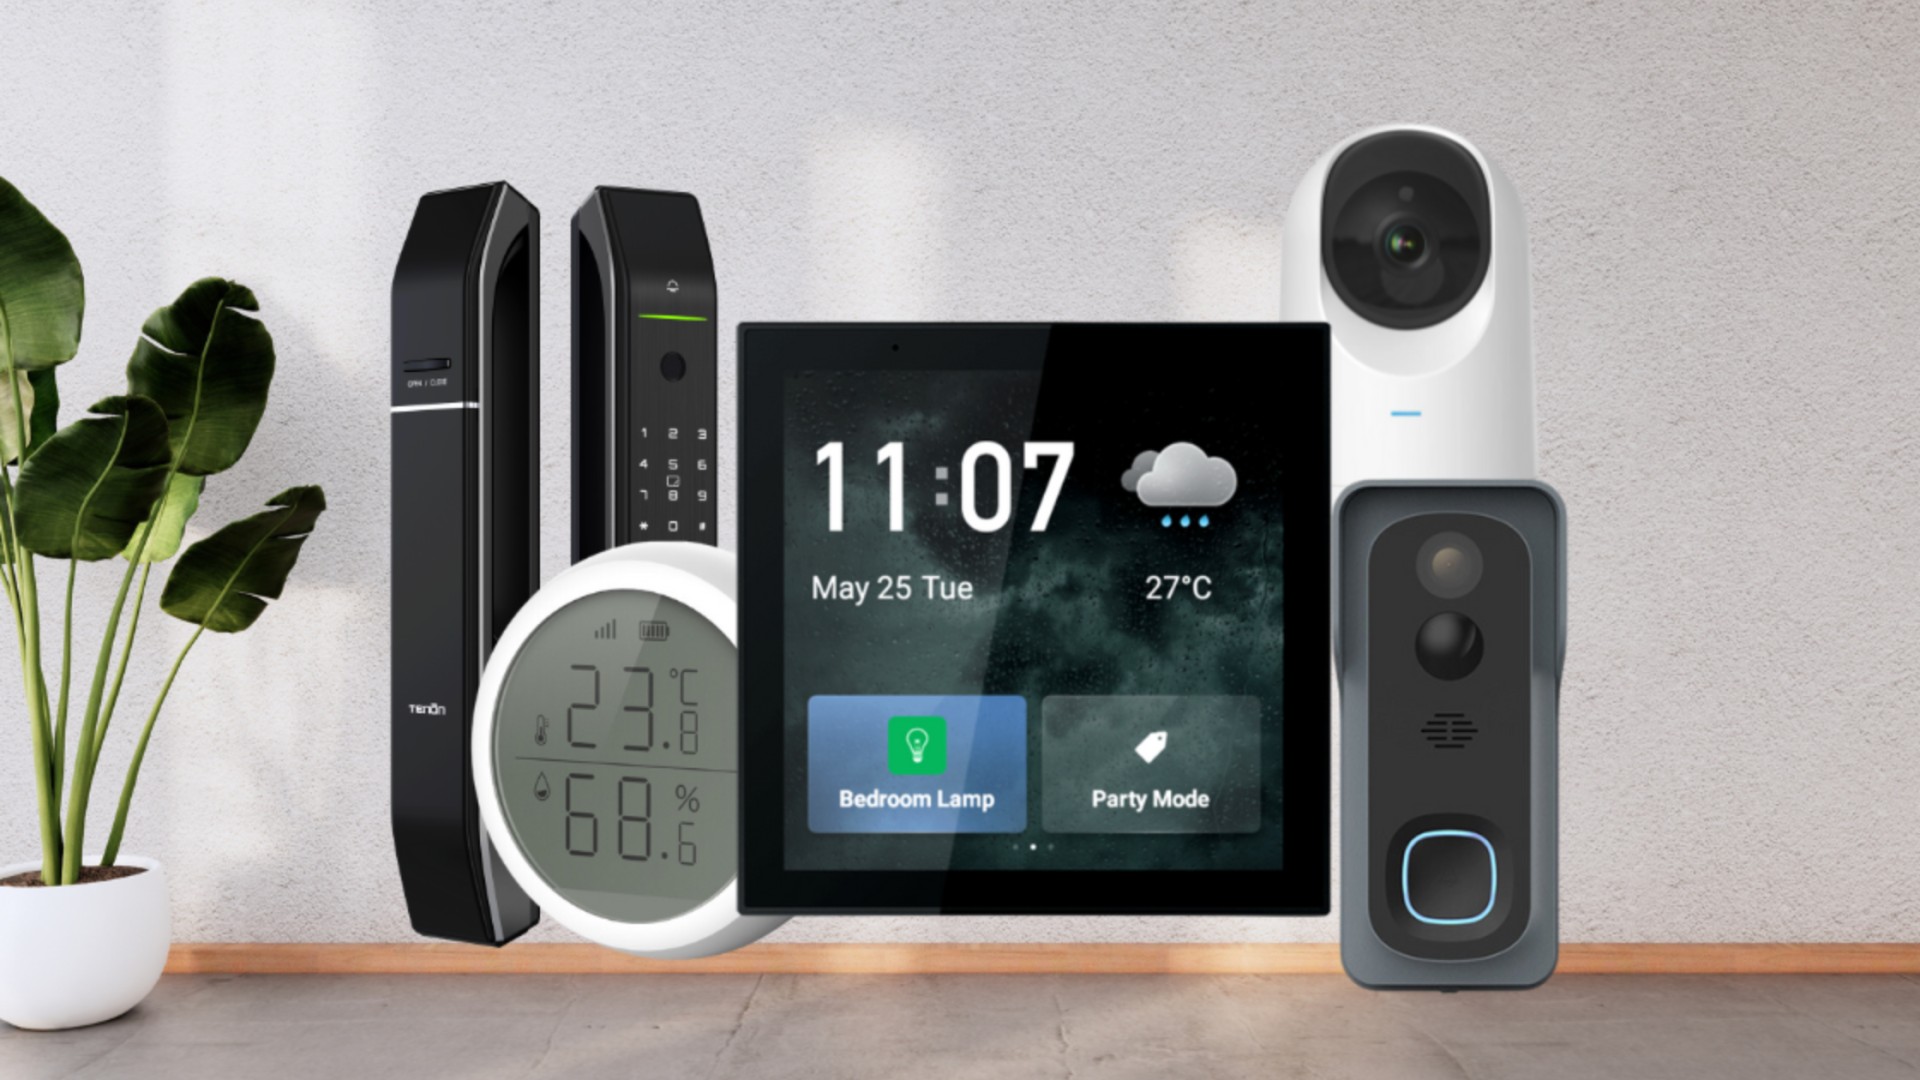
The Rise of Smart Homes: How Technology Is Changing the Way We Live

Cybersecurity in the Age of Remote Work: Challenges and Solutions

The Future of Artificial Intelligence: Trends to Watch

The Benefits of Microservices Architecture for Modern Applications

The Role of Artificial Intelligence in Predictive Maintenance

How Businesses Can Leverage Social Media Analytics for Growth

The Impact of Quantum Computing on Cybersecurity: A New Era of Threats

The Benefits of Serverless Computing 2026, The Architecture for Modern Applications

Why Businesses Should Prioritize Digital Transformation in 2026

The Potential of Augmented Reality in Education and Training

The Role of DevOps in Modern Software Development: Benefits and Challenges

Cloud Computing for Small Businesses: Benefits and Best Practices

The Future of Work: How Automation and AI Are Transforming the Job Market

Blockchain in Supply Chain Management: A Game-Changer for Transparency and Efficiency

Data Analytics: Unlocking Business Insights and Driving Growth
5G for Businesses: Leveraging Next-Gen Connectivity for Growth

Cybersecurity in the Age of IoT: Threats and Opportunities

The Future of E-commerce: How AI is Revolutionizing Online Shopping

Birdbuddy Smart Bird Feeder Launches at CES 2026: Birdbuddy 2 and Birdbuddy 2 Mini

Descriptive Set Theory and Computer Science: A New Bridge Links the Strange Math of Infinity to Algorithms
Most Anticipated Video Games 2026 That Gamers Can’t Wait For

Voicebuds: Subtle Launches Next Generation Earbuds for Voice Computing

Robots: Transforming the Future of Technology and Daily Life

Graphic Designing: The Art and Science of Visual Communication

Xthings Smart Home Devices at CES 2026 Redefine Home Security and Automation

SwitchBot Onero H1 Home Robot Redefines Smart Living at CES 2026

Beats Solo 4 Headphones Deal: Amazon Slashes $70 Off in All Colors

Digital Marketing Services for Small Businesses: Simply Social Media LLC Expands to Drive Growth
Why Japan’s Internet Feels Unusual to Outsiders — But Makes Sense to Locals

ASUS Unveils ROG Strix XG34WCDMS Featuring a 34-Inch 280Hz 5th-Gen QD-OLED Display

The Top Agentic AI Browsers to Watch in 2026